

Cutting your cat’s nails can seem like a daunting task whether or not you’ve done it before. But have no fear, we’ll hold your hand in this step by step guide to cutting your cat’s nails, and before you know it you’ll be a nail trimming pro!
Types of Trimmers
There are three types of trimmers to choose from, including a guillotine type, a scissors type, and a standard human clipper.
It’s generally recommended to use either the guillotine type or human clipper. The scissor type is typically used if one of the nails is so long it’s curling in a circle.
Setting the Scene
Only you understand your cat best, so try to pick a time and location where your cat will feel most at ease. Perhaps this is right after a long cat-nap when she’s complacent and groggy, or in the morning when she’s back to her cuddly self after night full of shenanigans.
Choose a comforting setting to do the deed, such as a familiar blanket or her favorite place on the couch.
Earn the Paw’s Trust
Cats in general are finicky about having their paws touched, so get him used to it with this little trick. As frequently as you both can stand (at least a few times per week), massage each of your cat’s paws for a few seconds and then reward them with a treat.
Once he’s become more comfortable with that, step it up to retracting his nail by pressing his pad so that each nail extends out, and then reward with a treat.
Repeat this with all twenty nails.
Overcoming the Clipper
Ideally you should introduce the clippers at an early age so your cat is acquainted as soon as possible. Show your clippers to your cat and while captivating her attention, clip something that will make a similar clicking sound as a nail, such as an eggshell or a piece of wire and reward her with a treat.
Repeat this regularly until your cat is used to both the look and sound of the clippers.
Be Careful of the Quick
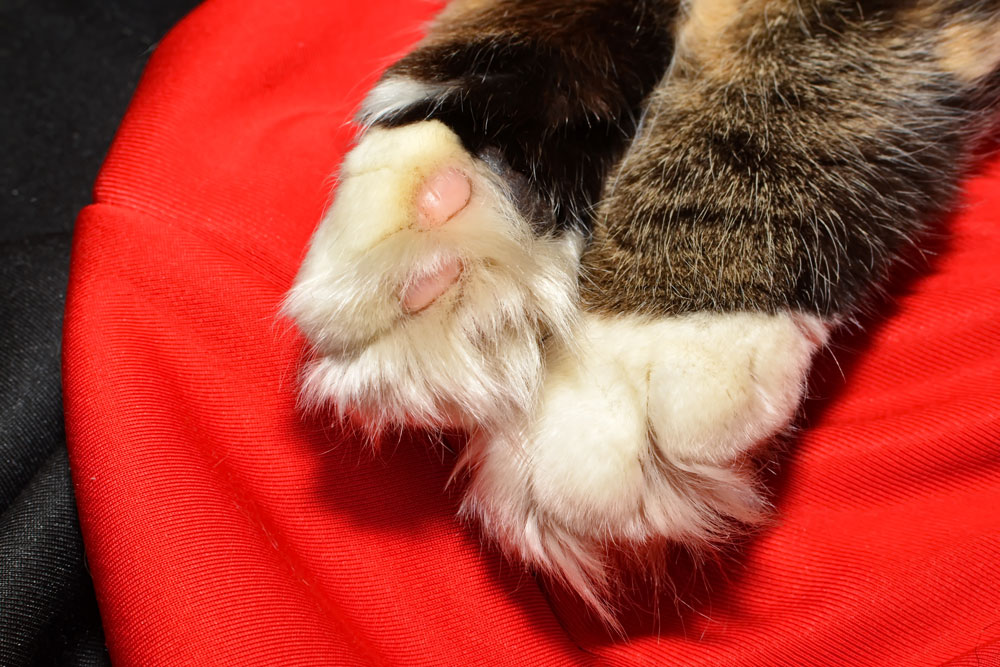
The quick is the pink portion of your cat’s nail that contains flesh and blood vessels, and you should take great caution to not clip this. Not only will it be painful for your cat, but it can cause more negative association with clipping in the future.
A general rule of thumb is to cut up to 2 millimeters before the quick. Remember, it’s always better to cut too little than too much. If you do knick the quick and it starts bleeding, you can stop it with some styptic powder or even by holding a paper towel to the wound to help coagulation.
The bleeding should stop within five minutes even without assistance.
Clipping Time
Hold your cat so he is facing away from you, and gently take one of his paws and press the pad so the first nail extends. Take note of where the quick begins, and clip just the very tip of the nail, cutting top to bottom (perpendicular). Cutting side to side (parallel) to the nail may crush and splinter the nail, and should be avoided.
Reward him with a treat, and continue like this for a few more nails. If your cat is calmly going along with it, you can do several nails at a time before dispensing the treat.
How Often to Clip Your Cat’s Nails?
The ideal time between clipping sessions should be about ten days to two weeks. Any longer than that and risk getting yourself or your possessions scratched. Any sooner and you may clip your cat’s quick on accident.
What if they still resist?
If even after careful, meticulous training your cat still refuses to have their nails clipped, you may want to get a vet’s assistance.
Remember, never declaw your cat. This is discouraged by the ASPCA and actually harms your animal.